

Ever wondered why some bathroom makeovers look perfect, while others don’t? Knowing the right order for a bathroom renovation is key. This article will guide you through the steps to make your bathroom renovation a success.
Planning carefully can make your bathroom remodel less stressful. By following a clear plan, you’ll ensure every important step is covered. This way, you can create the bathroom you’ve always wanted.
Key Takeaways
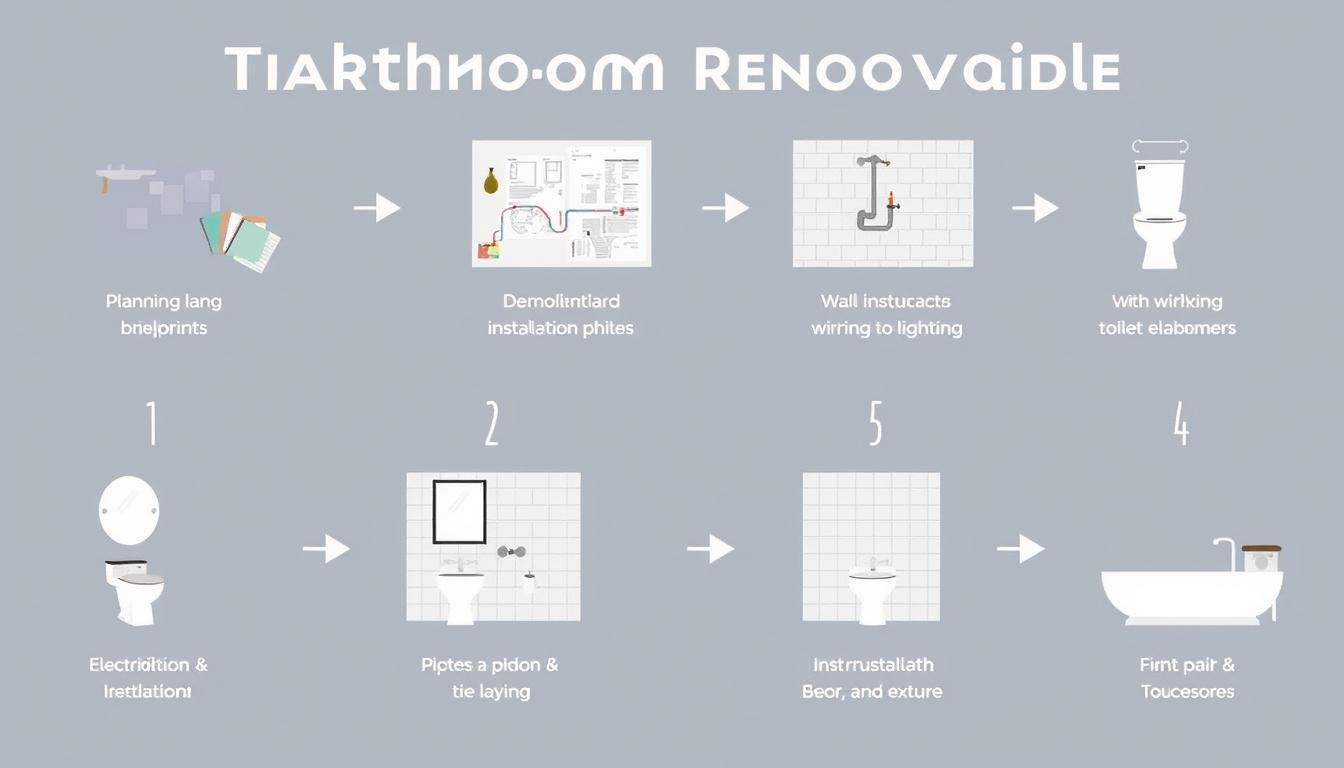
- The order of renovation typically includes planning, demolition, plumbing, and installations.
- A realistic budget with a contingency is crucial for handling unexpected costs.
- Proper ventilation is essential to prevent moisture buildup and mold.
- Tiling should start with the floor, followed by walls, using moisture-resistant materials.
- The final touches include fixtures, fittings, and thorough post-renovation cleaning.
Introduction to Bathroom Renovation
Renovating your bathroom is key for both looks and function in your home. A good bathroom upgrade can make your home better and increase its value. Knowing the basics of a bathroom renovation guide helps your project go smoothly and avoids problems.
Start with a clear plan. Measure your space, decide on layouts, and make a list of what you need. Good retailers offer quality supplies for a great change. Think about ventilation and storage to avoid mold and keep things neat.
Choose durable fixtures and finishes for a lasting, beautiful space. You might need professionals for plumbing or structural work. The renovation steps include demolition, tiling, and installing fixtures.
In Sydney, many old homes have outdated bathrooms. A smart renovation can make these spaces modern and stylish. Planning well can save money and make sure your renovation fits your budget and vision.
Understanding the Importance of Planning
Before starting a bathroom renovation, it’s crucial to plan well. Good preparation can turn a renovation into a success or a series of problems. You need to check your current bathroom and set clear goals for the renovation.
Writing down your goals helps you decide the best order for the renovation. This ensures your decisions lead to a unified result.
Assessing Your Current Bathroom
Start by looking at your bathroom carefully. Find out what works and what doesn’t. Think about practical things like:
- Storage options
- Water pressure and plumbing functionality
- Lighting and ventilation
Also, consider the looks of your bathroom. Look for old fixtures or materials that can be updated. A good start helps avoid extra costs and makes sure changes fit your goals.
Defining Your Renovation Goals
Take some time to think about what you want from your renovation. Make a list of what you like and need. Think about things like:
- Design preferences, including colors and materials
- Functionality needs for your lifestyle
- Budget restrictions considering recent price increases
Knowing you might not need a full renovation can help you plan better. Simple changes, like new tiles or fixtures, can refresh your space. Good planning helps you schedule tasks well, especially with the current delays in getting help and finding materials.
It’s important to focus on waterproofing and tile renewal to protect your investment from water damage.

| Renovation Task | Typical Duration |
|---|---|
| Demolition | 1-3 days |
| Plumbing work | 1-2 days |
| Electrical fixture installation | 1-2 days |
| Tiling | 2-5 days |
With over 100 decisions to make, planning and patience are key. By following these steps and keeping your checklist up to date, you’ll have a smoother renovation.
Establishing a Realistic Budget
Planning your budget well is key for a successful bathroom remodel. Knowing the costs and planning ahead can save you money. Make sure your budget covers everything, from tearing down walls to picking out fixtures.
Cost Breakdown for Bathroom Renovations
Having a clear cost breakdown is crucial. In Australia, bathroom renovations can cost between AUD $15,000 to $35,000. This depends on the size and how complex it is. Here’s a rough guide for budgeting:
| Expense Category | Percentage of Total Cost |
|---|---|
| Labor and Miscellaneous | 35% |
| Fixtures | 25% |
| Tiling/Waterproofing | 25% |
| Plumbing | 10% |
| Electrical | 5% |
With these numbers, you can make a budget that fits your needs. Keep an eye on your budget to adjust for any changes in your renovation plan.
Creating a Contingency Budget
It’s smart to have a 15% contingency budget. This extra money is for unexpected costs that might pop up. Things like extra plumbing or hidden damage can happen. Having this extra money helps keep your project smooth and your wallet safe.
https://www.youtube.com/watch?v=OECvrTtTamE
In what order should you renovate a bathroom?
Knowing the right order for bathroom remodeling makes the process smoother. Start with a solid plan to guide your renovation. Remove old fixtures like sinks, toilets, and cabinets first. This clears the way for the next steps.
Then, install the new shower or tub. Do the plumbing work here, making sure it meets local codes. After that, put in the new flooring. A good floor looks great and works well.
Next, hang drywall and paint the walls. Choose paints that can handle bathroom humidity. With the base done, install cabinets and vanities. These add storage and style.

Don’t forget about lighting. Update it to improve both looks and function. Finally, connect the plumbing for sinks and toilets. This makes sure everything works right.
Renovating a bathroom might seem long, but following these steps helps. Knowing the right order avoids problems and makes the renovation smoother. Also, keep about 15% of your budget for surprises.
Here’s a quick guide to the essential steps:
| Step | Description |
|---|---|
| 1. Remove bathroom fixtures | Clear out the old fixtures to prepare for new installations. |
| 2. Install the new shower or tub | Focus on plumbing setup and fixture installation. |
| 3. Lay the new flooring | Choose materials that are durable and easy to clean. |
| 4. Hang drywall and start painting | Use moisture-resistant products for the best results. |
| 5. Install cabinets and vanity | Ensure enough storage while enhancing the design. |
| 6. Update lighting | Incorporate suitable fixtures for both style and function. |
| 7. Hook up the plumbing | Connect all necessary plumbing fixtures for a functional bathroom. |
Choosing a Design and Style
Starting a bathroom renovation means picking the right choosing bathroom design elements. These choices greatly affect the look of your bathroom. Begin by making a mood board. It’s a visual guide that brings together all your design ideas.
Creating a Mood Board for Inspiration
A mood board is a great tool for planning. It helps you see your design ideas come together. Collect pictures of tiles, fixtures, and colors that you like. Use Pinterest or Photoshop to put it all together easily.
Having a variety of ideas helps you choose materials that are both useful and beautiful. Stick to a few tile options and metal finishes to keep your design simple and consistent.
Selecting Colors and Fixtures
Color and fixture choices are key when choosing bathroom design. Pick materials that are tough and easy to clean. Subway tiles are a good choice because they’re affordable and versatile.
Adding wooden accents can enhance your design without breaking the bank. Make a detailed list of everything you need. This includes square footage and total costs. It helps you stay organized and on track with your bathroom makeover order.

Getting the Right Team Together
Building a skilled team is crucial for a successful bathroom renovation. Knowing the roles of different professionals can improve your project’s quality. Finding the right tradespeople can make the process easier and lead to better results.
Identifying Necessary Tradespeople
For your bathroom renovation, you’ll need to hire several professionals:
- Plumber: Essential for installing and updating plumbing fixtures.
- Electrician: Ensures all electrical work is up to code, handling lighting and outlets.
- Builder: Manages structural changes and oversees the construction process.
- Designer or Architect: Offers creative solutions and space planning, especially if you’re contemplating significant changes.
Each professional brings unique skills for different parts of the renovation. Hiring experienced professionals can save time and ensure quality work.
Understanding the Role of Each Professional
Each professional in your bathroom renovation has specific tasks:
| Professional | Role |
|---|---|
| Plumber | Installs sinks, showers, toilets, and any necessary piping; addresses plumbing issues. |
| Electrician | Handles the electrical layout, ensuring that lighting and outlets are safely and effectively installed. |
| Builder | Constructs and manages the renovation project, particularly if walls are being moved or structural changes are made. |
| Designer | Helps with design aesthetics, choosing fixtures, colors, and layouts that meet your vision. |
Clear communication of your renovation goals to these professionals is key. Working with skilled professionals and clearly stating your needs can prevent misunderstandings. This ensures a smooth renovation process.
Disconnecting and Demolishing
The bathroom demolition process is key in any renovation. It’s important to prepare well for a smooth transition. This part talks about disconnecting fixtures and safety tips for demolition.
Preparing for the Demolition Process
Before starting, it’s crucial to plan. Here are some steps to follow:
- Obtain necessary permits: Check with local authorities regarding renovation permits, as requirements vary by location.
- Disconnect utilities: Ensure that water, electricity, and gas lines are safely disconnected to minimize hazards.
- Gather your tools: Essential tools for the bathroom demolition process include hammers, crowbars, screwdrivers, multi-tools, and safety gear such as goggles and gloves.
- Remove fixtures methodically: Approach the removal of accessories, vanity units, and toilets with care to prevent damage and aid in disposal.
Safety Considerations When Demolishing
When demolishing, safety is paramount to avoid accidents. Here are key safety measures:
- Check for lead presence: If your home was built during the early 1970s, be cautious during tile removal, as lead may be present. Consider professional assistance if lead is detected.
- Inspect for asbestos: Be vigilant about potential asbestos in older homes, especially in insulation and flooring materials.
- Wear appropriate safety gear: Equip yourself with dust masks, gloves, and hard hats to protect against debris and harmful particles.
- Be mindful of structural integrity: When knocking down walls or removing flooring, ensure that you account for load-bearing structures; improper handling can lead to dangerous collapses.

Following these guidelines helps ensure a safe and successful renovation. It protects you and the future design of your bathroom.
Rough-In Stage of Renovation
The rough-in stage is a key moment in bathroom renovation. Here, plumbing and electrical work is done. It’s important to get measurements right to avoid problems later.
Any mistakes can make installation harder and cost more. It’s essential to get everything right before finishing the bathroom.
Importance of Accurate Measurements
Getting measurements right is crucial for rough-in plumbing. It ensures bathroom fixtures are installed correctly. It also affects where lighting and outlets go.
Be careful with materials, especially if they’re old. Materials before 1984 might have asbestos. Choosing the right materials is important for a good renovation.
Timing for Plumbing and Electrical Work
Timing is key in the rough-in stage. You need to coordinate tradespeople well. Installing tile underlay before plumbing can save time.
Putting tiles under the toilet avoids cutting them later. Make sure installations happen smoothly. This means doing things in the right order, like installing the bath first.
Final checks by experts ensure everything works well and safely. This sets a strong foundation for your new bathroom.